Disassembly and Documentation
Although hydraulic directional valves are generally designed as non-disassemblable structures, thorough cleaning requires disassembly with proper tools and technical expertise. Before disassembly, be sure to document the relative positions and assembly relationships of all components to prevent incorrect reassembly that could cause leaks or functional failure. Avoid using excessive force during disassembly and follow the manufacturer's provided instructions.
Preliminary Cleaning
After disassembly, first check the valve body, spool, and other components for accumulated dirt. Use a soft brush, cotton yarn, or non-metallic scraper to carefully remove visible concentrated dirt and sludge, taking care not to scratch the precise mating surfaces of the spool and valve body.
Rough Cleaning
Place the disassembled parts into a cleaning bath tray and soak them in a cleaning solution (such as a dedicated hydraulic valve cleaner, diesel, or gasoline) with heating. Introduce compressed air at the bottom of the cleaning tank to enhance cleaning effectiveness through bubble agitation. If conditions permit, using an ultrasonic cleaner can significantly improve cleaning efficiency, especially for contamination in complex internal cavities.
Fine Cleaning and Drying
After rough cleaning, use high-pressure cleaning equipment to precisely clean key parts such as the spool and valve body to remove any remaining fine particles. After cleaning, thoroughly dry all parts with hot air to prevent water residue from causing corrosion.
Assembly and Testing
Reassemble all parts according to the recorded documentation or assembly diagrams. Replace any damaged seals. Once assembly is complete, install the directional valve on a test bench to perform functional and leakage tests. Only after confirming normal operation and no leaks should it be put back into system use.
Hydraulic Directional Valve Cleaning Method
Popular Products
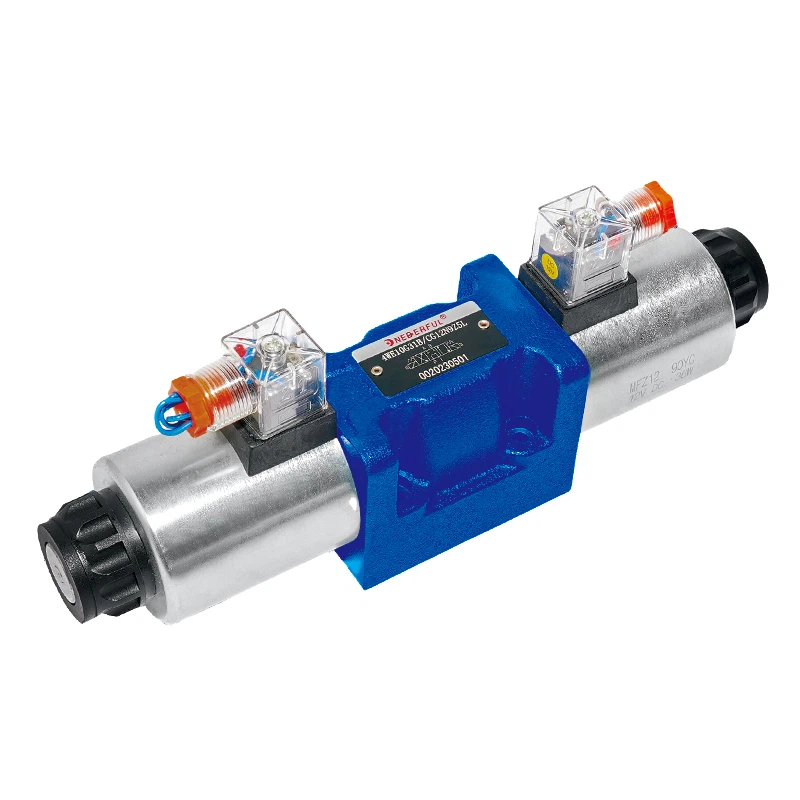
WE10 Series Solenoid Directional Valve
Electromagnetic Directional Valve WE10
Product name: Solenoid directional valve WE10
Brand :...
Product name: Solenoid directional valve WE10
Brand :...

DCV60 Series Hydraulic Sectional Valve
DCV60 manual sectional directional valve
Product name: DCV60 manual sectional directional valve
Brand:...
Product name: DCV60 manual sectional directional valve
Brand:...

CBF-F4 Series Gear Pump
Gear pump
Product name: CBF-F4 gear pump
Brand: Onederful® Hydraulic
Model: S15A1...
Product name: CBF-F4 gear pump
Brand: Onederful® Hydraulic
Model: S15A1...

OMP BMP Cycloid Hydraulic Motor
Hydraulic Motor
Product name: OMP BMP hydraulic motor
Brand: Onederful® Hydraulic
Model: BM1 /...
Product name: OMP BMP hydraulic motor
Brand: Onederful® Hydraulic
Model: BM1 /...

Modular Restrictive Check Valve
Modular Restrictive Check Valve Z2FS6
Product name: Modular Restrictive Check Valve Z2FS6
Brand:...
Product name: Modular Restrictive Check Valve Z2FS6
Brand:...

Direct Relief Valve
Direct Operated Relief Valve
Product name: Direct Operated Relief Valve
Brand: Onederful® Hydraulic...
Product name: Direct Operated Relief Valve
Brand: Onederful® Hydraulic...